Routing a Form - Performance Pro
To Route a Form
From the main menu, click Employee Documents, then Performance History.
Click on the Forms tab.
Select an employee.
Click the Edit icon beside the pending Form you wish to route.
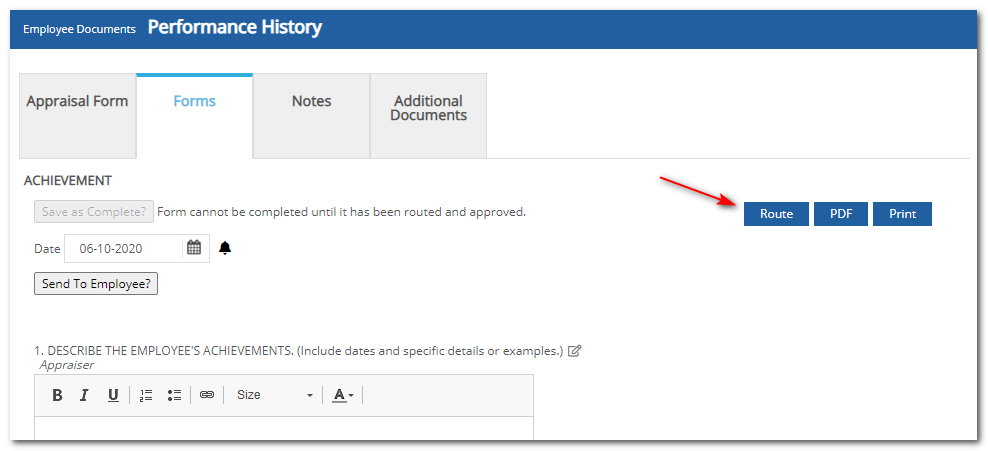
Click the Route button.
Depending on how your system is setup, you will now either manually choose who to route to, or it will automatically route, following an established routing path.

Using Manual Routing Option
If "Manual Route" has been enabled, you will have the option of choosing the recipient of the route from a dropdown list, followed by clicking the Route button again.

Using Auto Routing Option
If "Auto Route" has been enabled, the routing information will display. If you do not wish to continue with the route at this point, click the Back button to return to the Form. If you do wish to route the item, click Route again and the Form will follow an established, assigned Routing Path.

Note: The route can be canceled by an Administrative User by clicking the Stop Route button that appears on this screen for them.
If the routed Form is not responded to within the established Routing Period, it will automatically be sent back to the appraiser or onto the next person in an Auto Routing Path.
Note: If Require Routing is enabled on the Appraisal Settings screen, Forms must be routed and all approvers must approve it before it can be marked as Complete. If any mark it "Not Approved" or the routing expires without a response, the Form must be routed again to all in the Routing Path. After the approvals have been received from all those in the Routing Path, the Form can be completed.
Did this answer your question?![HRPS Logo1.png]](https://knowledgebase.hrperformancesolutions.net/hs-fs/hubfs/HRPS%20Logo1.png?height=50&name=HRPS%20Logo1.png)