![HRPS Logo1.png]](https://knowledgebase.hrperformancesolutions.net/hs-fs/hubfs/HRPS%20Logo1.png?height=50&name=HRPS%20Logo1.png)
What’s New?
Billing Contact
An "Add Billing Contact" link has been added to the support menu for Administrative Users.
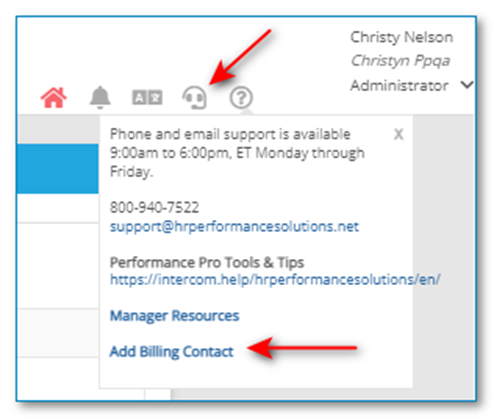
Clicking the “Add Billing Contact” link will take the Administrative User to a new tab in Administration > Admin titled “Billing Contact.”
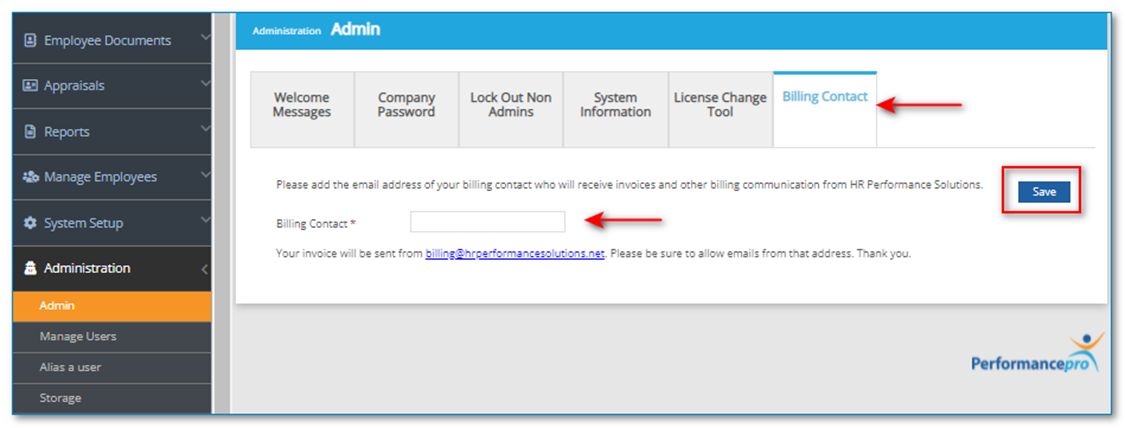
Enter the email address in the “Billing Contact” field for the person who should receive invoices and other billing communications from HR Performance Solutions. Click “Save.” Please keep this email field current.
New Employee Created Forms and Feedback Collection Feature
A new “Employee Created Forms” feature is being added with this release that will allow any employee to create forms from the Form Inbox widget on the home screen. This is available for the employee role only. The employee can send their newly created form(s) to other users to collect feedback, both within and outside of Performance Pro.
Settings
There is a new setting in System Setup > Company Settings > Appraisal Settings > Hide and Show which controls this feature.
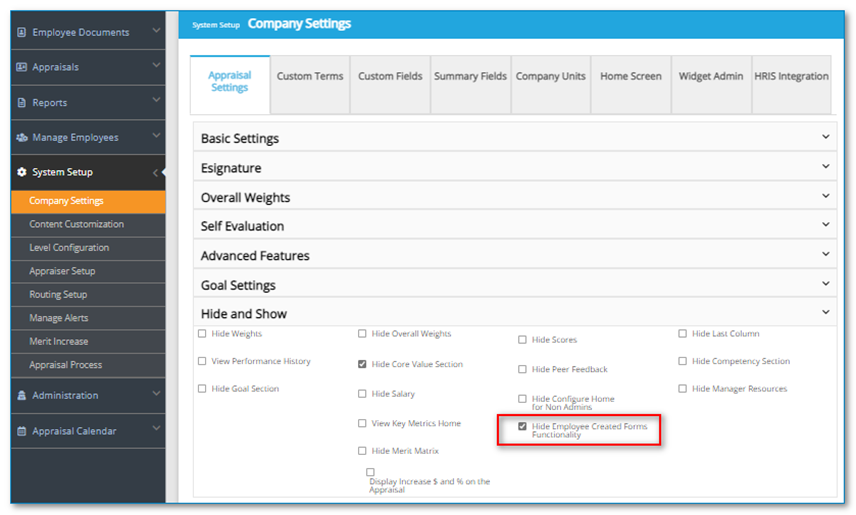
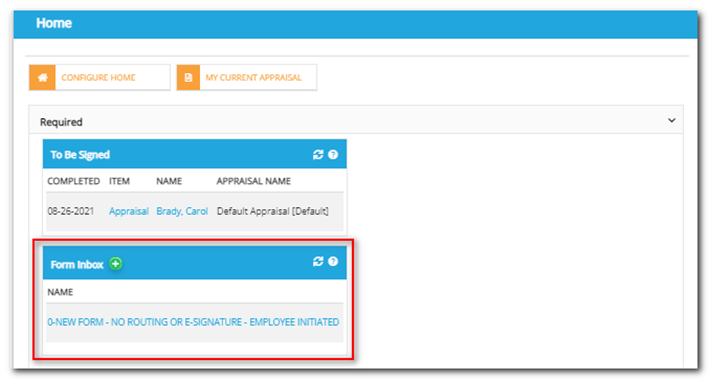
Hide Employee Created Forms Functionality. The “Hide Employee Created Forms Functionality” setting will be checked by default. If checked or on, the new feature will be off. If this is the case and the feature is off, the Form Inbox widget will only show on the home screen if there is at least one employee-initiated form available. Only forms that the Administrator creates and allows the employee to initiate will appear in the list when the employee selects the + sign.
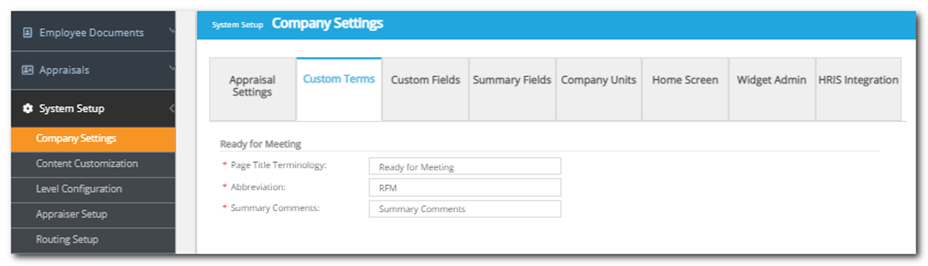
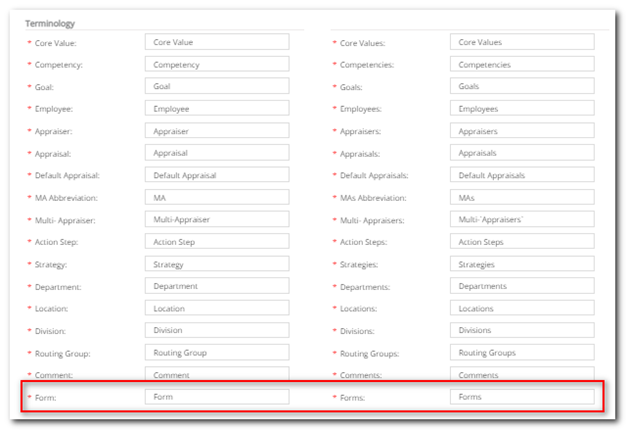
Custom Terms. The term “Form” will now be able to be customized on the System Setup > Company Settings > Custom Terms tab.
Turn the Employee Created Forms Feature On. When “Hide Employee Created Forms Functionality” is unchecked, the feature turns on and a new box appears below it titled “Appraiser View Employee Self-Created Forms.”
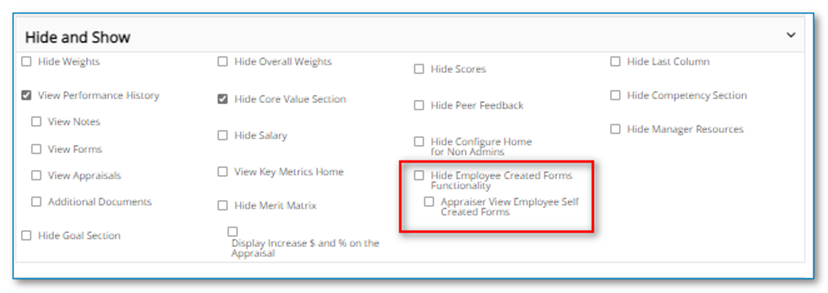
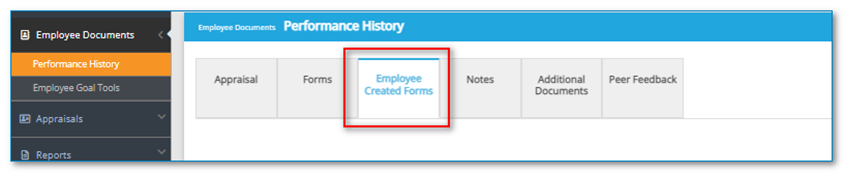
By default, it will be unchecked. When checked, or turned on, Appraisers will see a new tab within an employee’s Performance History titled “Employee Created Forms.” This allows the Appraiser to see any forms that the employee has created under the “Employee Created Forms” tab. Regardless of the setting being on or off, Administrative Users can ALWAYS see the employee created forms by aliasing a selected employee and navigating to Employee Documents > Performance History > Your Forms tab.
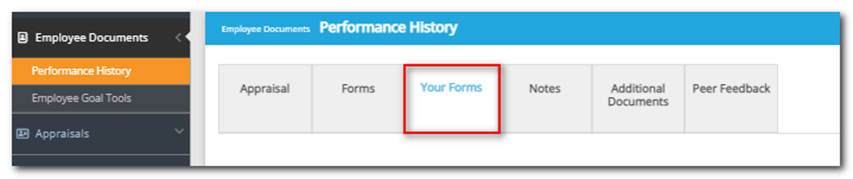
Your Forms: When the “Employee Created Forms” functionality is unhidden, a “Your Forms” tab will display in Performance History for the employee role ONLY, unless the above setting is ON. This tab will house any completed forms that have been created and initiated by the employee.
Creating a New Form
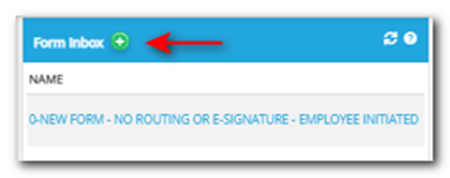
Users must be in the “employee” role to create a form. If the user is NOT in the employee role, when they select the + sign on the Form Inbox widget, the role will automatically change to the employee role.
Click the + sign in the Form Inbox widget header on the home screen.
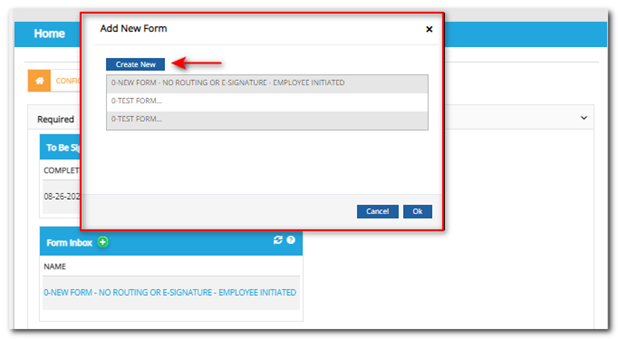
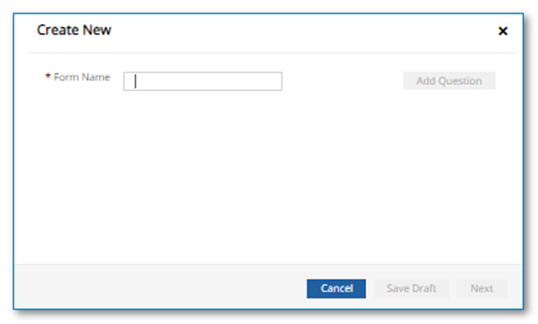
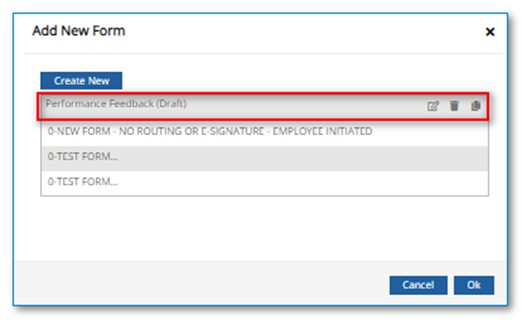
A list of previously created forms, if any, will appear along with any forms that were created by the Admin that the employee can initiate. Click “Create New” to build a new form.
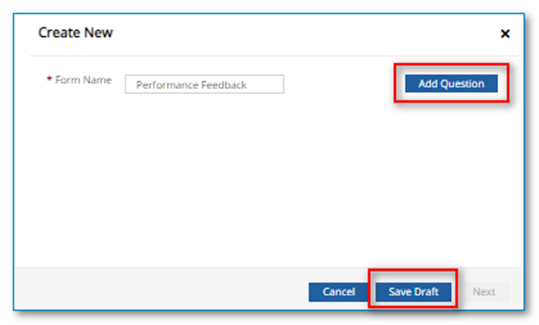
Enter a name for the form in the “Form Name” field. Once a name is entered, the “Add Question” and “Save Draft” buttons will become active. Click “Save Draft” if you wish to save and return later.
Click “Add Question” to begin to add content to the form.
There are three question types a user could add. These include a 1-10 scale, a comment box, and a drop-down group of choices.
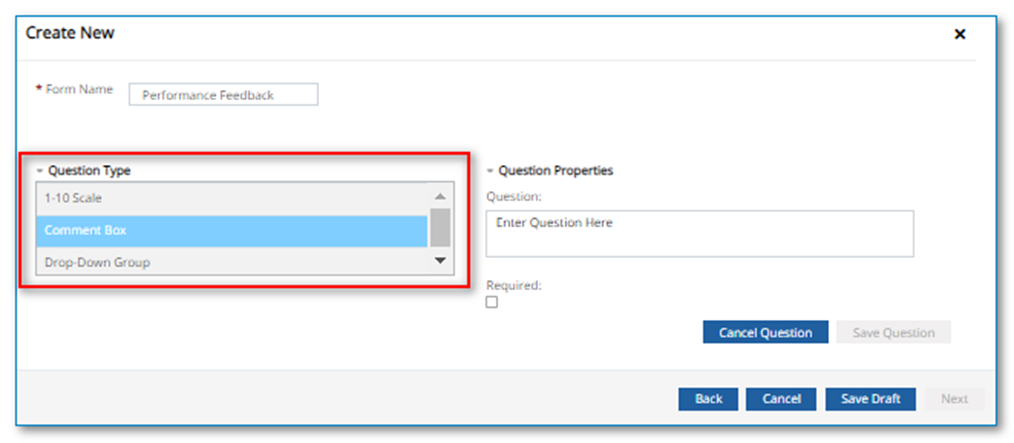
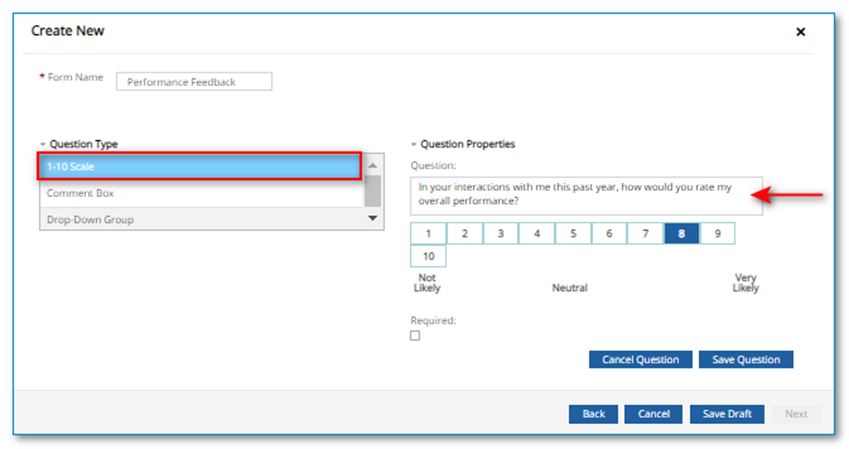
1-10 Scale: Choose “1-10 Scale” from the “Question Type” list. Enter your question/text in the “Question” field. Click the “Required” checkbox if you wish to require this question to be answered. Click “Cancel Question” if you wish to exit the popup without saving the newly created question or need to change the “Question Type.” Click “Save Question” to save and move onto additional questions and options.
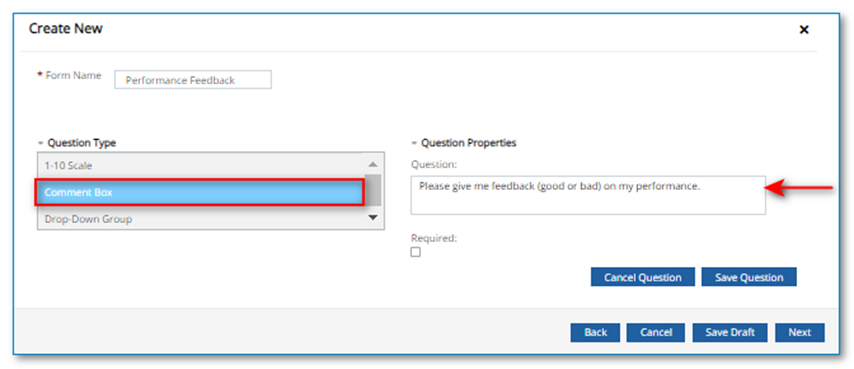
Comment Box: Choose “Comment Box” from the “Question Type” list. Enter your question/text in the “Question” field. Click the “Required” checkbox if you wish to require this question to be answered. Click “Cancel Question” if you wish to exit the popup without saving the newly created question or need to change the “Question Type.” Click “Save Question” to save and move onto additional questions and options.
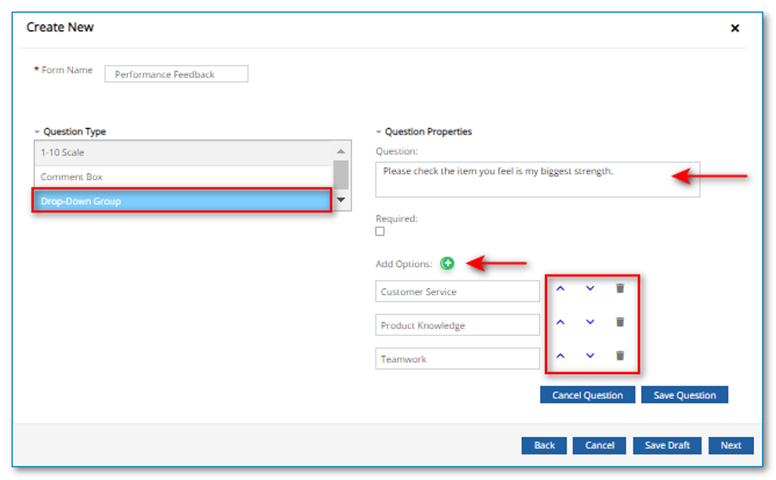
Drop Down Box: Choose “Drop Down Box” from the “Question Type” list. Enter your question/text in the “Question” field. Click the “Required” checkbox if you wish to require this question to be answered. Click the “Add Options” + sign. In the text field that appears, type the first item you wish to appear in the drop-down group. Keep clicking the + sign to add more options to the group. You can reorder the options, if desired, by using the up and down arrows to the right of the option or click and drag them into the position of your choosing. Clicking the trash icon will delete the option. Click “Cancel Question” if you wish to exit the popup without saving the newly created question or need to change the “Question Type.” Click “Save Question” when your desired options are all added.
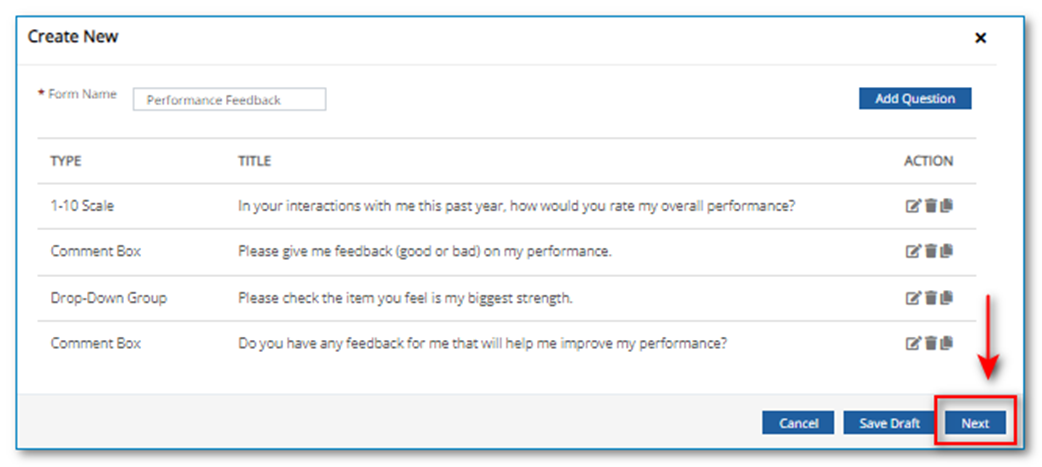
As questions are added and saved, they will appear in the “Create New” popup in the order they are added. Keep clicking “Add Question” until you have entered all the questions. If you would like the questions to appear in a different order, click and grab the question from the Type or Title column and drag it to the new location. Click “Save Draft” to save your work.
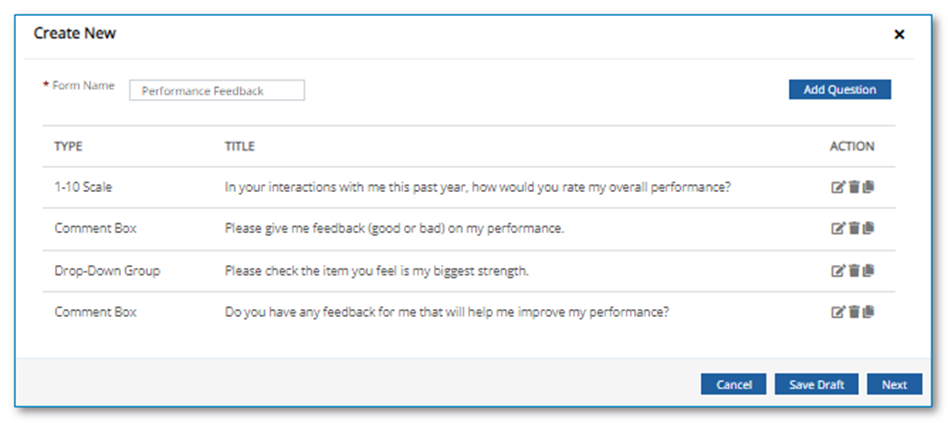
Actions beside each question include: Edit (which allows you to make edits to the question,) trash/delete (which allows you to delete the question from the form,) and copy (which adds a duplicate copy of the question to the form).
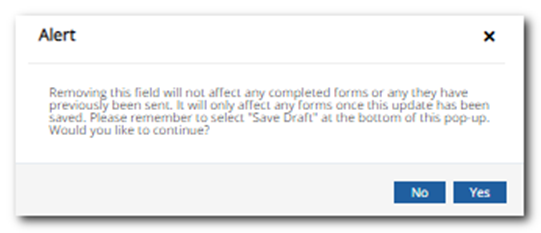
If you click the trash can icon, the following message will display which states that the deletion will not affect any completed forms previously sent out to users using this form.
Draft Mode, Edit, Delete, and Copy Forms
When saved as a draft, the form will appear at the top of the forms list, in alphabetical order, with “draft” beside the title. Edit, trash, and copy icons will also appear. Forms will remain in “draft” mode until they are sent to at least one user. Once sent, the edit and delete icons will disappear and the “draft” label in the form name will be removed.
Clicking the edit icon beside the form name will bring you to the last step in the creation process where you selected “Save Draft.”
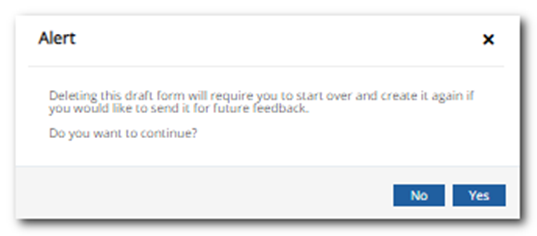
Clicking the trash icon will display a warning. Click “Yes” to proceed with the deletion of the form or “No” to exit without deleting.
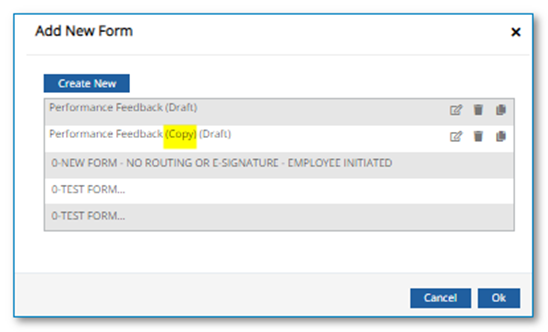
Clicking the copy icon will create another instance of the form with “Copy” in the name. You can then click the edit icon to make any changes to the form. Note: Form names must be unique to the employee who is creating the form.
Selecting Recipients
Once the form has been created, the next step is to identify recipients you wish to receive the form. Click “Next” to proceed with this selection.
This screen allows you to add external recipients (outside of your company) and select current employees to which you would like to send the form.
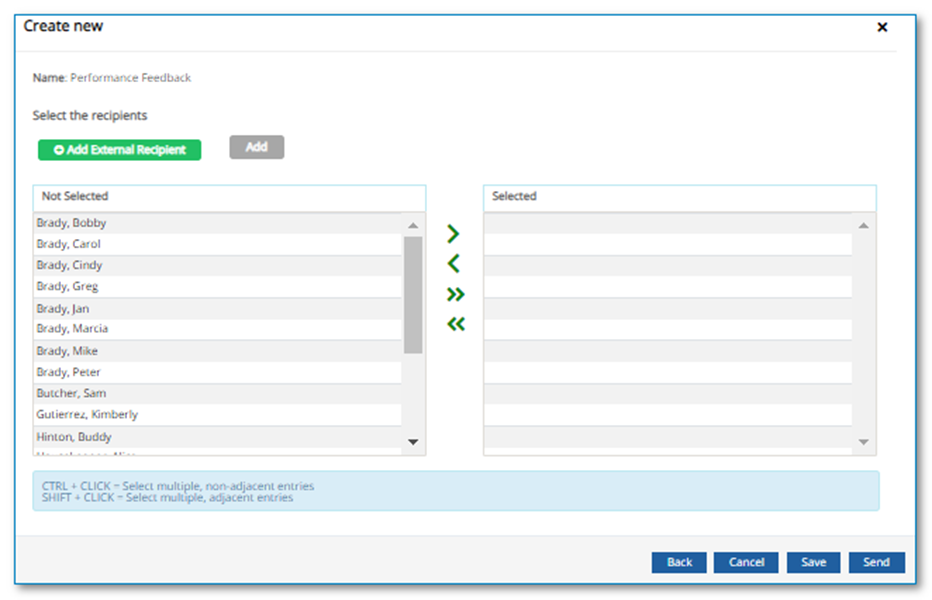
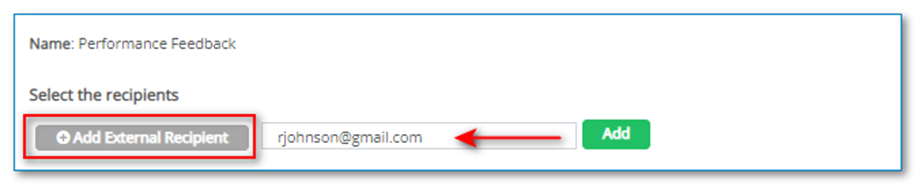
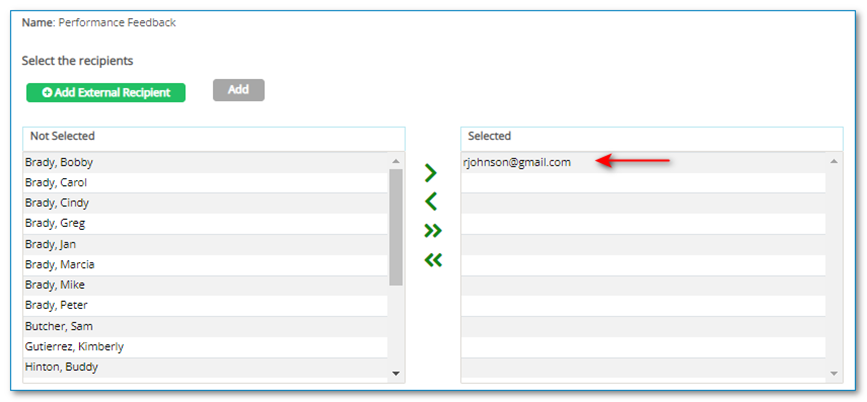
To add external recipients, click “Add External Recipient” and then enter the email address in the field to the right. Click the “Add” button when complete. The email address will then appear in the “Selected” list.
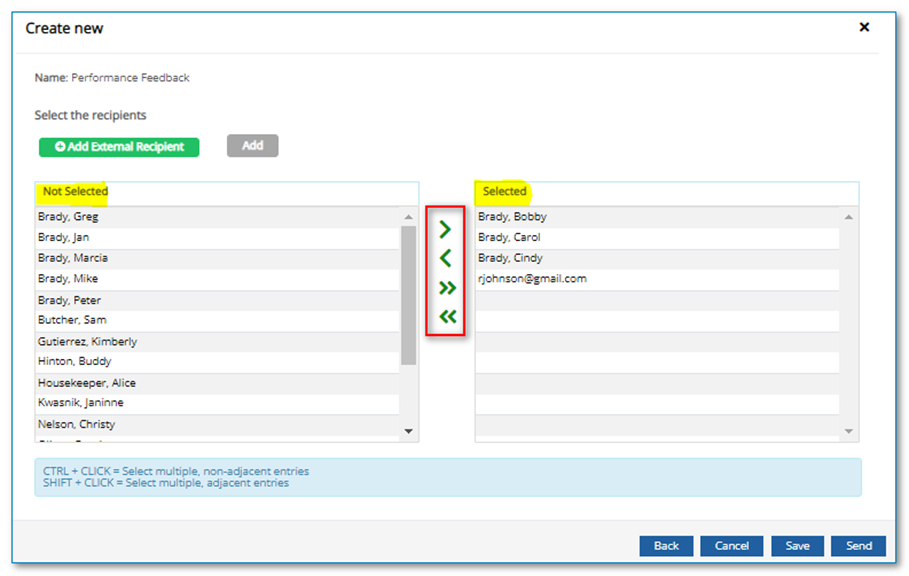
To add an employee to the “Selected” list, click on the name from the “Not Selected” list on the left, then click the single right pointing green arrow. The employee will move to the “Selected” list. Clicking the double right pointing green arrows will transfer the entire employee list. The single left pointing arrow moves a highlighted user from the “Selected” list back to the “Not Selected” list. The double left pointing arrow will move everyone from “Selected” to “Not Selected.”
The buttons at the bottom of the screen have the following functionality:
- Clicking “Back” will close the popup and navigate you back to the main form page.
- Clicking “Cancel” will close the popup and bring you back to the last screen where “Save Draft” was selected, upon selecting the edit pencil icon in the form inbox.
- Clicking “Save” will close the popup and save any recipients that were added to the “Selected” list.
- Clicking “Send” will save all recipients in the “Selected” list and send an email notification to them requesting their feedback.
Sending out a Form
Continuing from the previous step, once all recipients appear in the “Selected” list, click the “Send” button. (If you previously exited the form, click the + sign from the Form Inbox widget and then the edit icon beside the form to open the form again. You can then click the “Send” button.)
If there is more than one recipient, a pop up will display and ask if you would like to receive the feedback anonymously. If “Yes” is selected, the name of the recipient will NOT be displayed on the form when it is returned to you. If “No” is selected, the name of the recipient will be displayed on the form.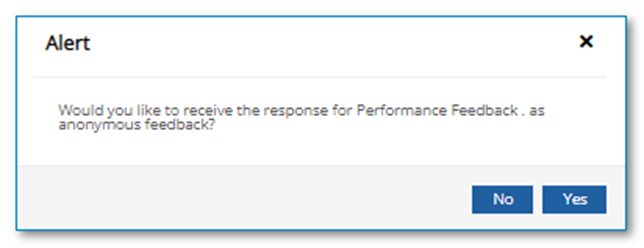
Once the form is sent, a confirmation popup will display stating “All selected recipients have been notified to complete your form.”

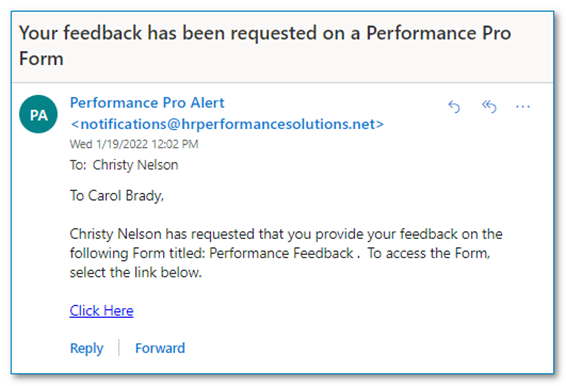
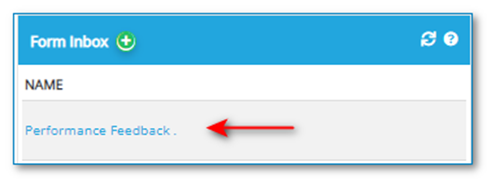
Recipients will be requested via email to provide feedback/complete the form. They can access the form by clicking the “Click Here” link in the email. The form can also be accessed and completed by clicking on it from the “Form Inbox” widget on their home screen.
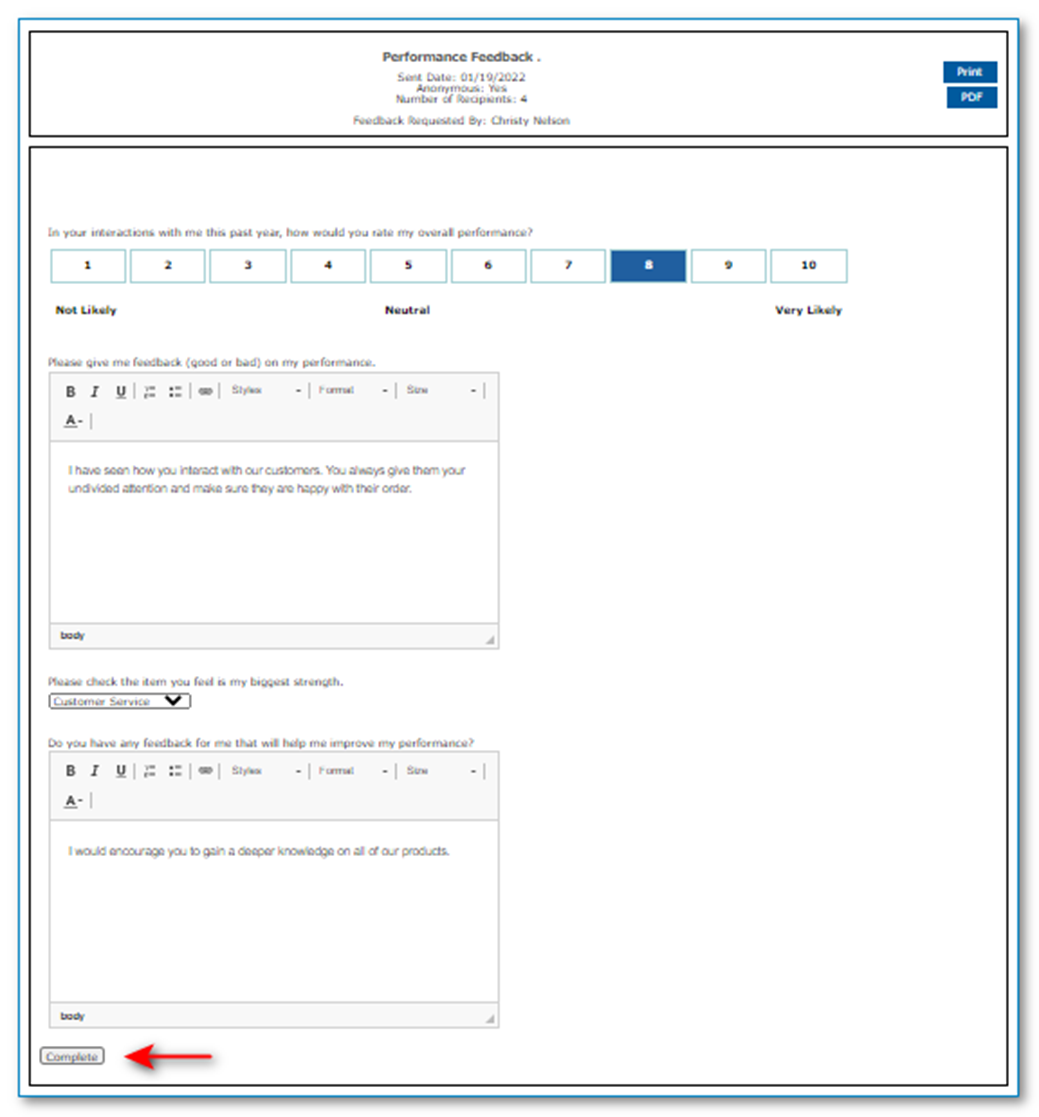
When the link is clicked, the form will open in a new browser tab. The user can complete each of the fields and all responses will be auto-saved. When finished, click “Complete” at the bottom of the form. If the recipient chooses to start the form but not finish it, they can click the “Click Here” link again anytime and the form will have auto-saved from where they left off.
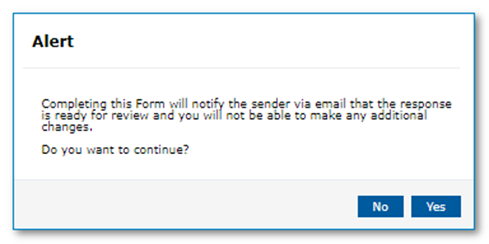
An alert will display when “Complete” is clicked warning that an email will be sent to the sender and that no further changes may be made. Click “Yes” to proceed or “No” to cancel.
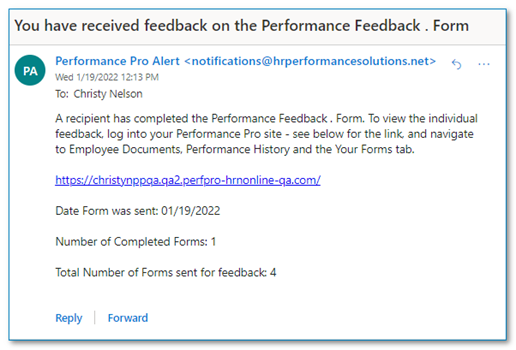
When “Yes” is selected, an email is sent to the sender notifying them the form has been completed. The link within the email will allow the sender to log into their instance of Performance Pro to review the feedback if desired.
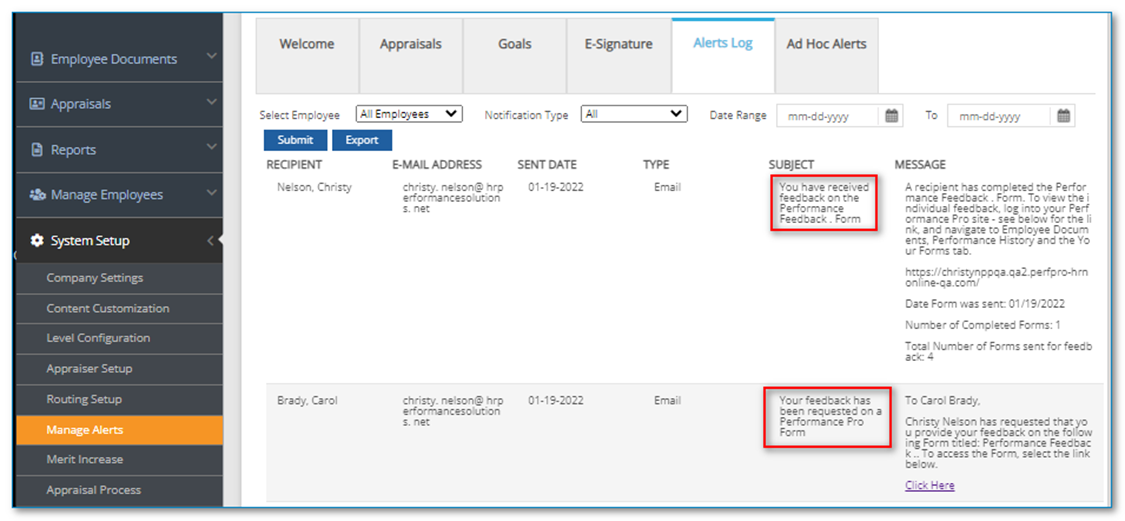
Emails related to employee created forms will also appear on the System Setup > Manage Alerts > Alerts Log tab, visible to Administrative Users.
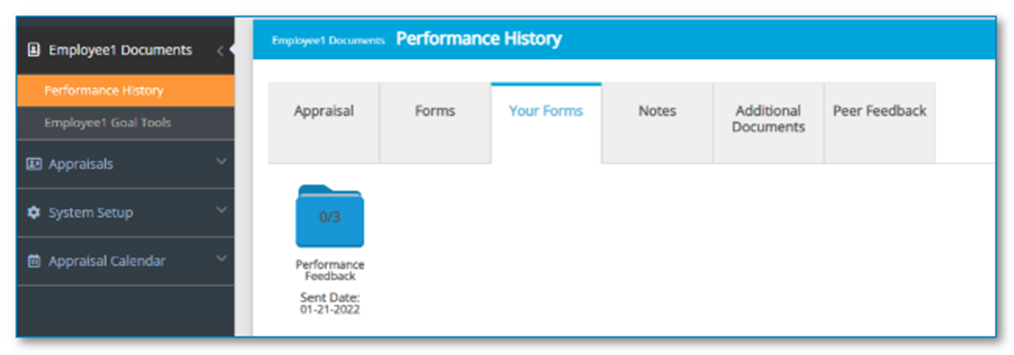
Your Forms Tab
When an employee sends out a form, a record of it is added to their “Your Forms” tab in Performance History. This record appears in the form of a file folder with the name of the form below and the date it was sent. The number of recipients and how many have completed the form appears on the file folder.
Click on the file folder and it will display the recipients (if not anonymous) and the date they completed the form.
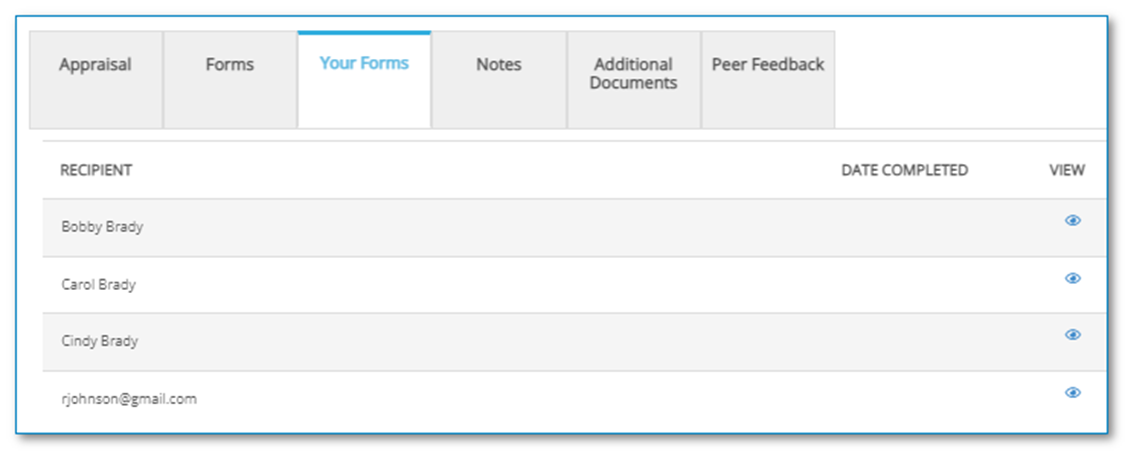
Click the “View” icon to see their completed form.
Note: If an Administrative User aliases as an employee, they will be able to see the forms on the “Your Forms” tab for the employee they are aliasing.
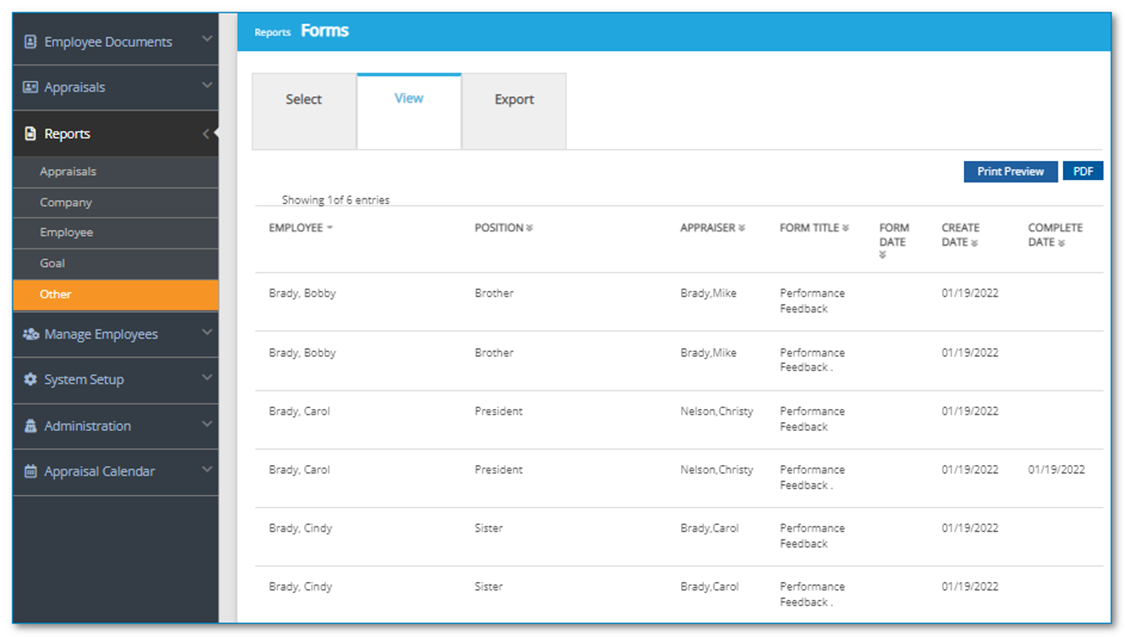
Reports
The Form and Form History reports will display information related to forms created by employees.